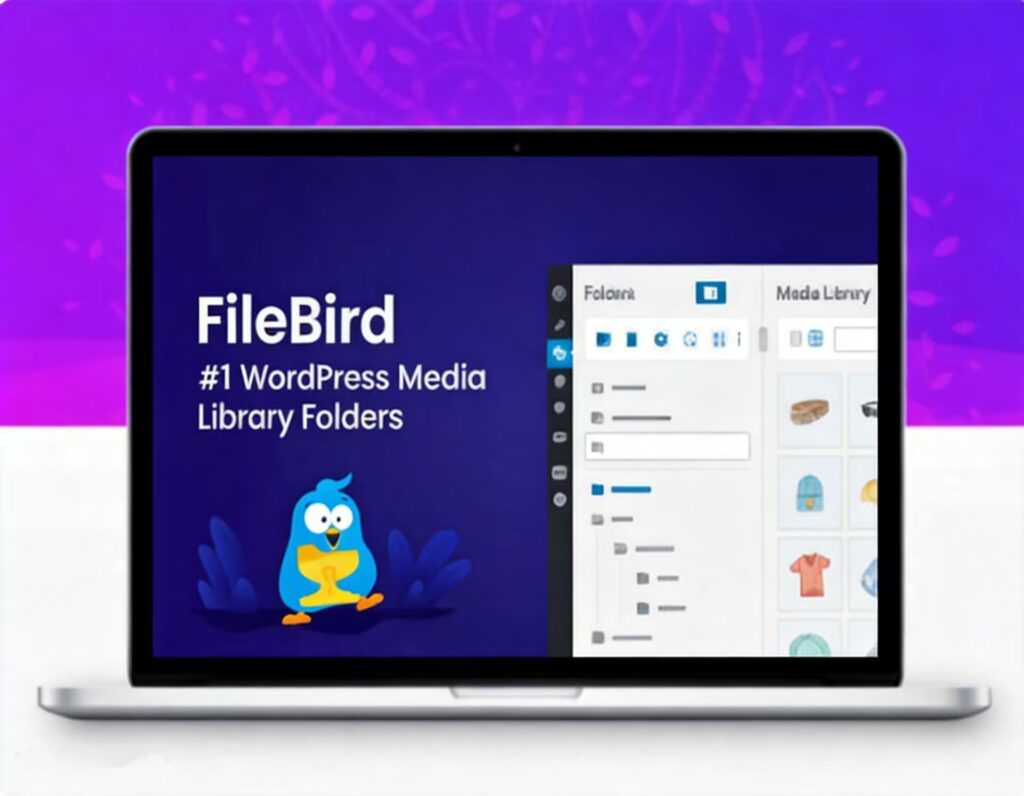
FileBird is an asset organization toolkit engineered to replace the native WordPress media list with a structural, desktop-grade folder system. It optimizes backend workflows by enabling granular management of high-volume digital assets through an intuitive layout.
Key Features & Capabilities
Hierarchical Folder Tree Navigation: Implements a native file explorer interface directly inside your media library, providing nested folder trees for efficient cataloging and asset tracking.
Fluent Drag-and-Drop Operations: Relocate multiple files or entire folders simultaneously into designated directory paths with instant backend asset pointer updates.
Universal Media Format Deployment: Fully supports all WordPress-compatible MIME types, including images (PNG, JPG, WebP), videos (MP4), audio (MP3), and document formats (PDF, ZIP).
Granular Directory Controls: Create, rename, relocate, or delete folders instantly without changing the actual database URLs of the source files, ensuring zero broken links across your posts.
Cross-Plugin System Integration: Fully compatible with major e-commerce and gallery frameworks like WooCommerce and NextGEN Gallery, ensuring unified asset selection screens across the dashboard.
